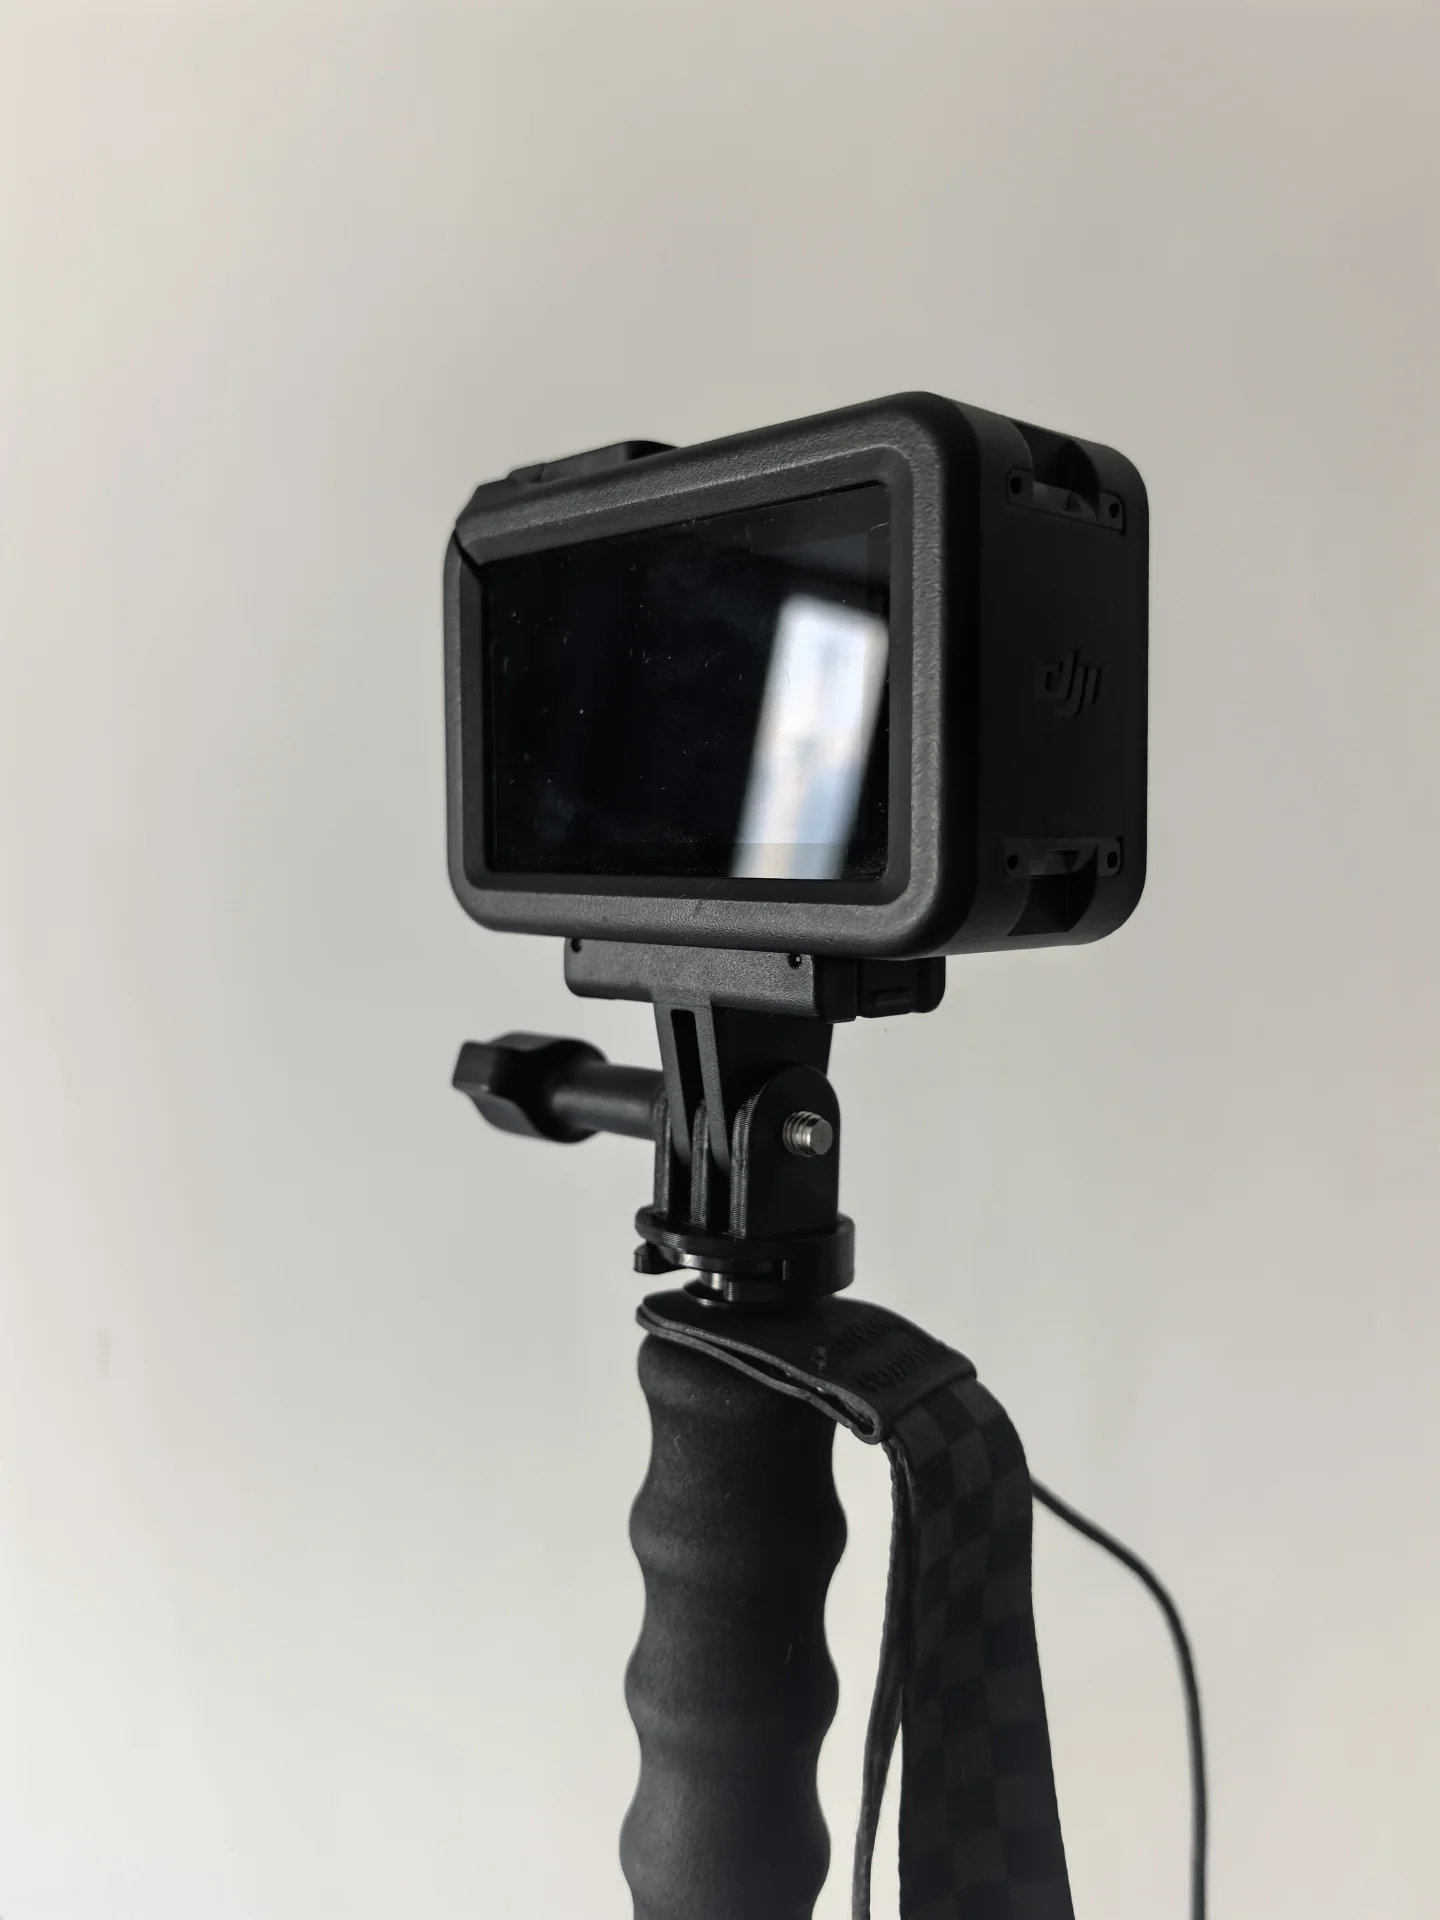
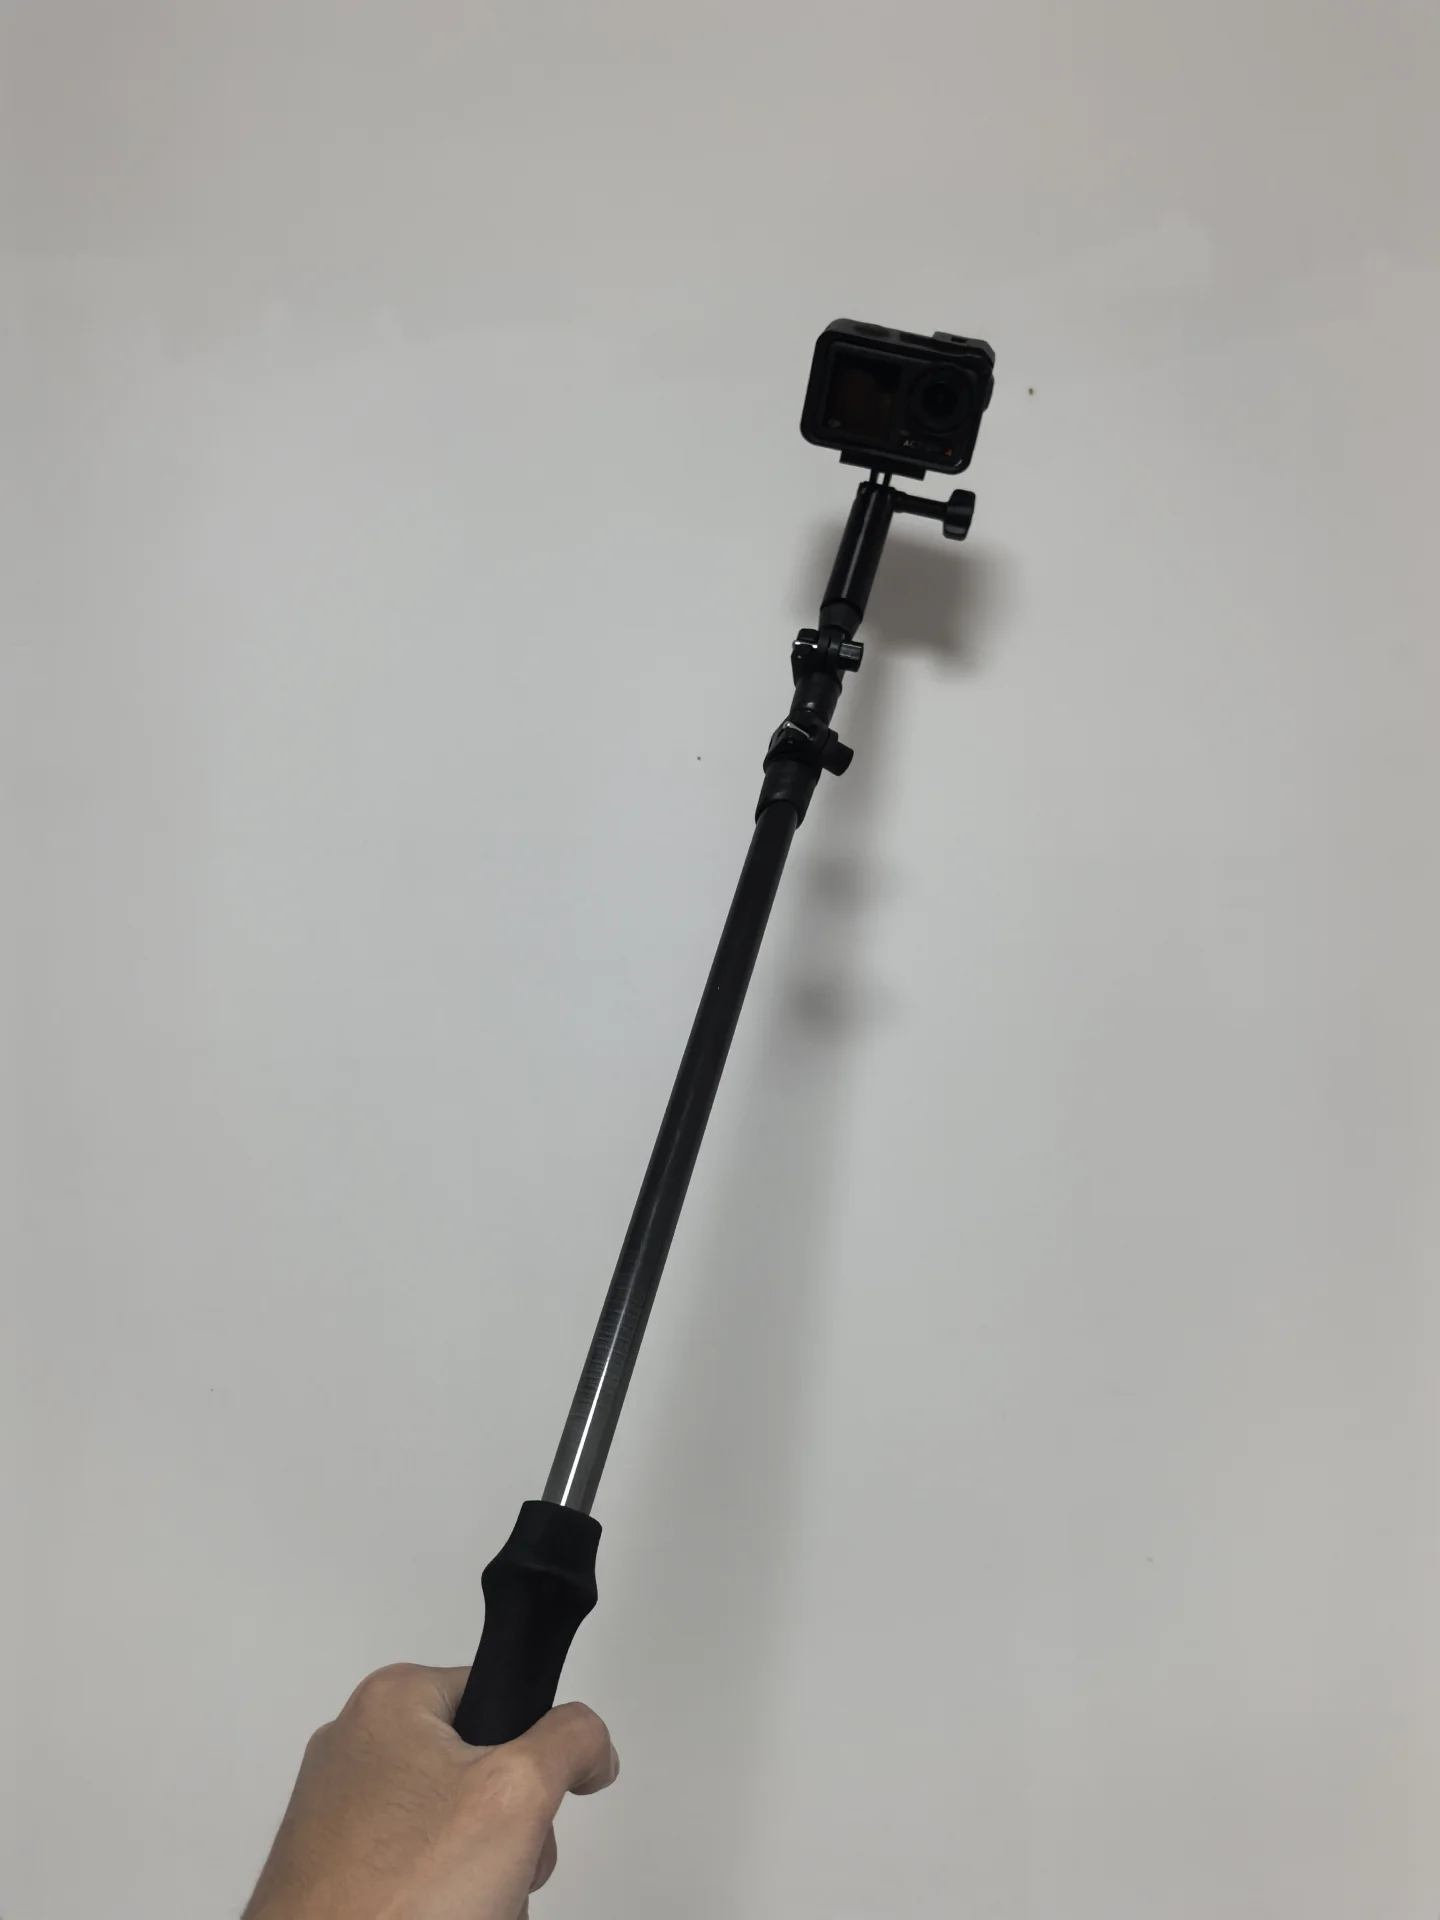
A hiking-pole camera mount can use a built-in removable head, a compatible clamp, or a purpose-made adapter to hold a camera or phone. Match every connection to the exact equipment and use the setup while stopped. A hand-held pole, a supported monopod, and a freestanding tripod need different arrangements.
Identify where the camera will attach
Start at the pole. Does it have a manufacturer-designed removable head exposing a camera mount, or will an accessory need to grip the shaft? Check the intended attachment point and whether the pole maker permits that accessory there.
Komperdell’s Camera Staff PL illustrates a built-in arrangement: its cork head unscrews to reveal a camera-mount system. Confirm the thread and compatible camera connection for the exact version before fitting equipment. A pole with a different-looking removable cap may use a different mechanism.
For a clamp or printed adapter, check where it contacts the pole and how it is restrained from rotating. A tapered shaft needs particular attention because the accessory can fit at one point and loosen if it moves. Choose a supported attachment rather than forcing a universal-looking part into place.
Trace the connection all the way to the camera
List the parts in order: pole, adapter, any head or quick-release plate, and camera or phone holder. Confirm each mating connection, including whether it presents a male screw or a female socket. Include the lens, housing, and other attached items in the equipment you expect it to hold.
A nominal quarter-inch camera connection is not enough to establish compatibility by itself. Check the thread specification, the available screw engagement, and what prevents the mounted item from rotating. An action-camera attachment may need a dedicated receiver rather than the socket used by another camera.
For example, the Manfrotto Nano Clamp specifications identify female quarter-inch and three-eighth-inch connections and a round-tube range of about 0.51–1.38 inches. That describes the clamp; confirm a suitable connecting stud and permission to clamp the particular pole. Confirm the permitted load for the complete setup, including the pole, adapter, head, and camera, before mounting the camera.
Assemble a removable setup while stopped
Lay the parts on a clean, stable surface before fitting the camera. Check that the pole and accessory contact areas are clean and undamaged. Keep the camera supported in your hand as you engage the intended connection.
Seat the adapter according to its design, then check for rotation or movement before raising the equipment. If it will not sit squarely or needs force to start a thread, stop and verify the parts. The completed connection should match the design you checked.
Check the adapter as well as the camera. One owner photographed a small printed adapter with an action camera fitted to the top of a pole. Before lifting a similar arrangement, keep the camera supported and check each connection separately for movement.
Set the viewing angle while standing somewhere secure. Recheck the joint after adjusting a head or rotating the camera. Keep a hand on the equipment while deciding whether it stays where you set it.
Use a hand-held pole for a hand-held task
For a selfie-style view, hold the pole and camera as an assembled object while stopped on stable ground. Check the space around you before extending it. Keep the setup away from passing hikers, branches, and edges.
The printed-adapter owner also photographed the camera on a folded pole and on a longer hand-held arrangement. That shows how the same accessory can change its packing and reach. Try both states in a clear area before adding the camera setup to a hike.
Remove the camera when returning the pole to walking use unless the manufacturer explicitly supports that arrangement. Put the camera where it will stay protected, then confirm the pole is correctly assembled for the trail. Make the transition while stopped.
A monopod remains something you control
A single planted pole can function as a supported shooting aid when the equipment is designed for that use. It still needs a person controlling it. Hold the setup throughout the shot and choose ground where the tip stays settled.
Start at a modest extension and check the framing before raising it farther. Look at the joints and how the camera’s weight sits relative to the shaft. If a small adjustment makes the connection move, lower the equipment and resolve it.
Keep exposure choices and camera settings separate from claims about support. A camera mounted on a pole does not automatically produce a sharp long exposure. Try the arrangement somewhere easy to stop and assess the results before depending on it for a particular photograph.
A tripod conversion needs an actual supporting base
A connector joining poles into a tripod-like shape must provide the legs, spread, and locking arrangement described by its maker. A pole with a camera attached at the top is still a single pole. Confirm every supporting component before treating the equipment as freestanding.
One maker photographed an orange connecting piece joining two poles into a three-point indoor structure. The useful detail is the separate connector and leg arrangement. For a removable product you are considering, verify its supported poles and assembly rather than inferring compatibility from that photograph.
Choose stable ground and remain with the equipment. If wind, slope, or movement makes the setup uncertain, keep the camera in hand or put it away. Plan photographs from a place where you can concentrate on both the scene and the equipment.
Pack the small parts so the setup is repeatable
Keep the adapter, compatible screws, and holder together in a small pouch. Include any cap you remove from the pole so you can restore it for walking. Check the assembled kit at home before carrying it on a longer route.
When comparing portability, weigh the complete camera arrangement you will actually carry. Include the head, holder, and connectors, and keep that total distinct from the bare adapter. A compact part is useful when it also makes the transitions straightforward.
FAQ
How does a hiking-pole camera mount attach?
It may use a built-in camera connection, a compatible shaft clamp, or a dedicated adapter. Check the exact pole, thread, and camera receiver together. Assemble the setup while stopped with the camera supported in your hand.
Can a hiking pole become a tripod?
Only with an appropriate supporting base and compatible connectors. Verify the legs, spread, and locks for that assembly. A single pole with a camera mounted on top still needs a person to control it.
Can a small adapter hold an action camera?
Some adapters are made for specific action-camera receivers, but compatibility depends on the exact parts. Confirm the mount, camera, housing, and permitted use before fitting them. Recheck every joint after changing the viewing angle.