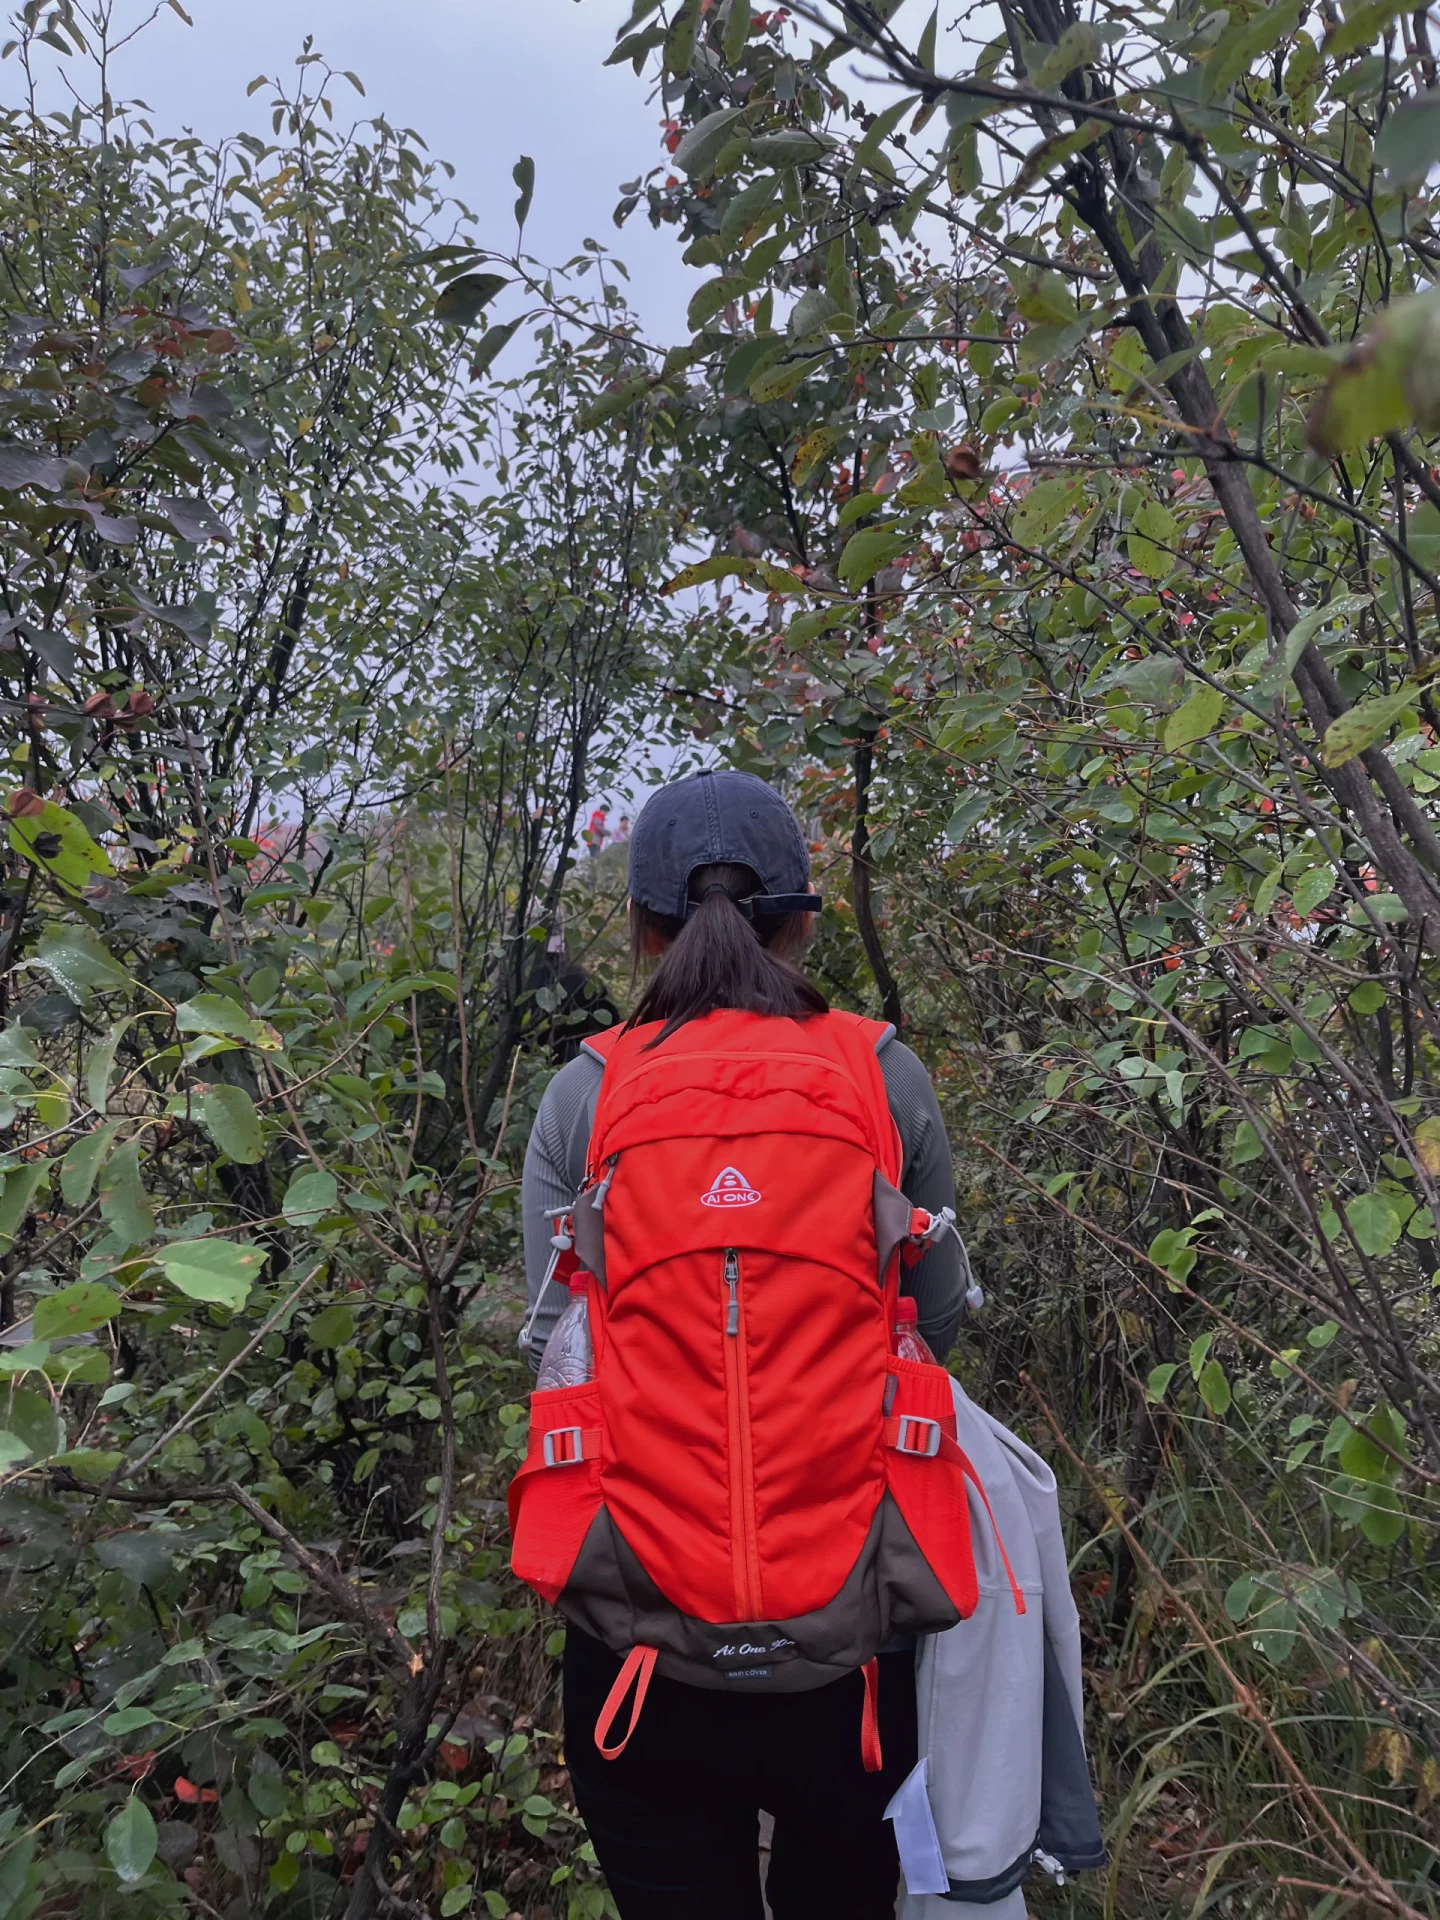
Hill walking means walking routes with climbs and descents, rather than technical climbing. To make an uphill trail more manageable, choose a route within your current ability, settle into a pace you can sustain, and leave time and energy for the return. A shorter hill with a straightforward descent is a useful place to begin.
Read the climb as well as the mileage
A trail’s distance tells only part of the story. Look at total elevation gain, where the steep sections occur, the surface underfoot, and how you will come back down. A short staircase can demand more continuous effort than a longer, gently rising path.
For a first state-park hill walk, compare the route with something you already know. If you comfortably walk a local rolling loop, try a modest extension of that experience. Adding distance, climbing, a heavier bag, and unfamiliar ground on the same day makes it harder to judge what suits you.
Check the route description for maintained trails and current conditions. An appealing summit photograph tells you little about the footing on the return. Ask whether the trail has a shorter option or a convenient turnaround before the main climb.
Budget for the whole outing. One wet-weather walk covered about 6.3 miles with 2,340 feet of elevation gain and took five to six hours, including breaks, food, and photographs. Rain made the descent slower. When estimating your own finish time, give the return its own allowance rather than treating the summit as the end.
Those figures describe one outing, not a pace to copy. What matters for planning is the combination: climbing, stops, and a slippery return all occupied time. Put those parts on your route notes before deciding when to start.
Find an uphill pace you can keep
Begin the climb slowly enough that the first steep section feels manageable. Let your steps get shorter as the grade increases instead of trying to preserve your flat-ground stride. Keep your attention on a comfortable rhythm and the next secure place to put your foot.
The National Park Service’s Hike Smart advice uses the ability to talk while walking as a practical pace check and encourages frequent breaks. In a group, let the slowest walker set the pace. Check in before the climb separates everyone.
If conversation becomes difficult, ease back and pause somewhere secure. A brief stop taken while you still feel organized is easier to work into the day than repeatedly hurrying until you need a long recovery. Restart gently, especially if the next section rises immediately.
On steps, choose a rhythm that lets you place your whole shoe securely where the tread allows. Taller steps may call for a different cadence from shallow ones. Leave room ahead so another hiker’s pace does not determine where you land.
Make breaks part of the route
Useful breaks have a purpose: drink, eat, check directions, adjust a layer, or decide whether the route still fits the day. Pick a safe place with room for other hikers to pass. Stop before digging through your pack or changing equipment settings.
One walker described taking a maintained stone staircase uphill while stopping along the way. The roughly 3.7-mile outing also included a rougher descent. For a beginner, choosing a maintained return can make the whole walk more predictable than selecting the descent only after reaching the top.
Keep snacks and the items you use often easy to reach when stopped. If opening the bag means unpacking everything, reorganize it before the next walk. That small change makes it easier to take an ordinary break without turning it into a lengthy equipment session.
There is no need to assign yourself a rigid break interval from someone else’s account. Notice where your breathing, footing, or concentration changes. A sustained staircase, a warm exposed section, and an easy shaded path may call for different pauses on the same hike.
Adjust the plan when the ground changes
Rain can turn a familiar descent into the slowest part of the outing. Shorten the day if necessary, and choose secure footing over a planned arrival time. A route that was comfortable in dry weather deserves a fresh assessment when wet.
The wet-weather walker also carried food and water and downloaded an offline route before entering an area without phone service. Prepare those things before leaving the trailhead. A saved map is most useful when you have already opened it and can recognize the planned turnoffs.
What changes
A useful response
The climb becomes steeper
Shorten your stride and reassess your breathing
Your group spreads out
Regroup at a secure stopping place
Rain slows the descent
Update the return time and consider turning back earlier
The surface becomes loose
Give each foot placement more attention
The planned loop includes an uncertain return
Choose a known, maintained alternative before committing
Keep to established, open routes. If the marked path no longer matches the information you brought, stop and check your position. The goal of a first hill walk is a comfortable outing with a return you understand.
Bring equipment that fits this walk
Use footwear you have already walked in, with soles suited to the expected surface. Try the loaded bag on a familiar walk before combining it with a larger climb. Carry the water, food, layers, and navigation you need for the whole route.
Trekking poles are an option if you want additional contact points and a way to involve your arms. Practice using and storing them before reaching a busy staircase. On narrow paths, keep their movement within the space available and stop to adjust them.
Powered walking assistance is another option for someone considering a device suited to ordinary hiking. Include the equipment’s fit, battery, backpack clearance, and downhill comfort in a short trial. Keep the route within your own walking ability while learning the setup.
Equipment preparation is also a chance to simplify access. Put a rain layer where you can reach it at a stop, check that bottles are secure, and make sure straps will not catch your arms. A bag that stays settled leaves you more attention for the trail.
Prepare with familiar hills before a bigger outing
Practice on a local incline with a convenient return. Repeat a route you can comfortably finish, then decide whether to add a little more climbing on a later walk. Keeping the route familiar makes changes in pace and comfort easier to notice.
One hiker used stairs and cycling between mountain outings. The useful idea for a beginner is making room for preparation before the trip. Choose a manageable amount of practice that leaves you ready for your next walk, rather than copying another person’s loaded stair session.
Hill walking gives you practice managing uphill effort, choosing foot placements, and planning a descent. Those are useful benefits even when the hill is small. You can learn whether your bag, shoes, and walking rhythm suit the terrain without making the outing longer.
Keep a simple note afterward: route, conditions, time including stops, and how the return felt. On your next visit, that is a more useful comparison than someone else’s summit time. Build from the parts that felt comfortable.
FAQ
What is hill walking?
It is walking over hills and other rising terrain, usually on paths rather than technical climbing routes. For an introduction, choose a maintained trail with manageable elevation gain and a clear return. Check both the climb and descent before setting out.
Which hiking uphill techniques should a beginner try?
Start gently, shorten your stride as the grade rises, and keep a pace that lets you talk. Pause on secure ground when you need to adjust. Choose your own rhythm rather than matching a faster person ahead.
What are the benefits of hiking uphill?
It gives you experience handling climbs, pacing an outing, and moving over changing ground. A familiar local hill can also help you check equipment and prepare for another hike. Increase the challenge gradually from a walk you already manage comfortably.