
On this page
Use trekking poles with a relaxed grip, correctly fitted wrist straps, and pole plants that work with your walking rhythm. Begin on level ground, then practice placing the tips securely before using them on slopes. Stop to adjust or stow the poles whenever managing them takes attention away from your footing.
Assemble and check the poles before walking
Fully deploy folding sections or extend telescoping sections within their marked range, then engage every lock. Put each tip on stable ground and apply controlled downward pressure. If a section slides, resolve the lock adjustment before using that pole for support.
Cascade Mountain Tech’s public use instructions describe this holding test alongside grip and walking technique. Practice the sequence with both poles at home. A familiar setup makes a loose lock easier to notice at the trailhead.
For a starting length, hold the grip with the tip beside you and your elbow near a right angle. Keep your shoulders relaxed and check the fit while wearing your hiking shoes.
Check the deployed state. One folding-pole owner found the locking section had to be pulled out before the pole would stay fixed. Check the lock in the fully deployed position, then confirm it holds before walking.
Fit the wrist strap, then relax your hand
For a conventional loop strap, reach upward through it from underneath, then bring your hand down to grasp the grip with the strap lying through your palm. Adjust it so it supports your hand comfortably without forcing your fingers into a constant squeeze. Try a few gentle plants while standing.
LEKI’s public technique guide explains this strap entry and the opposite-arm walking pattern. Check whether your own poles use a conventional loop or a different release system. Learn that system before trying to change it mid-walk.
Open your fingers slightly while holding the grip in place and notice whether the strap stays comfortable. If it twists or presses against your hand, stop and refit it. Check again with gloves if those are part of the outing.
Let the poles follow an ordinary walking rhythm
Walk slowly on a broad, level path and let your arms swing. Bring the right pole forward with the left foot, then the left pole with the right foot. Keep the plants close enough that you can stay upright and relaxed.
You can rehearse the rhythm without pressing hard. Add light pressure only once the tip lands where you intend. If the movement becomes confusing, pause, restart with a few ordinary steps, and let the arm swing reappear.
One hiker described using excessive arm effort in earlier trail-running outings and finishing with sore shoulders and arms. On later outings, they paid more attention to placement and rhythm. For a walking introduction, use a short familiar path and focus on smooth plants rather than force.
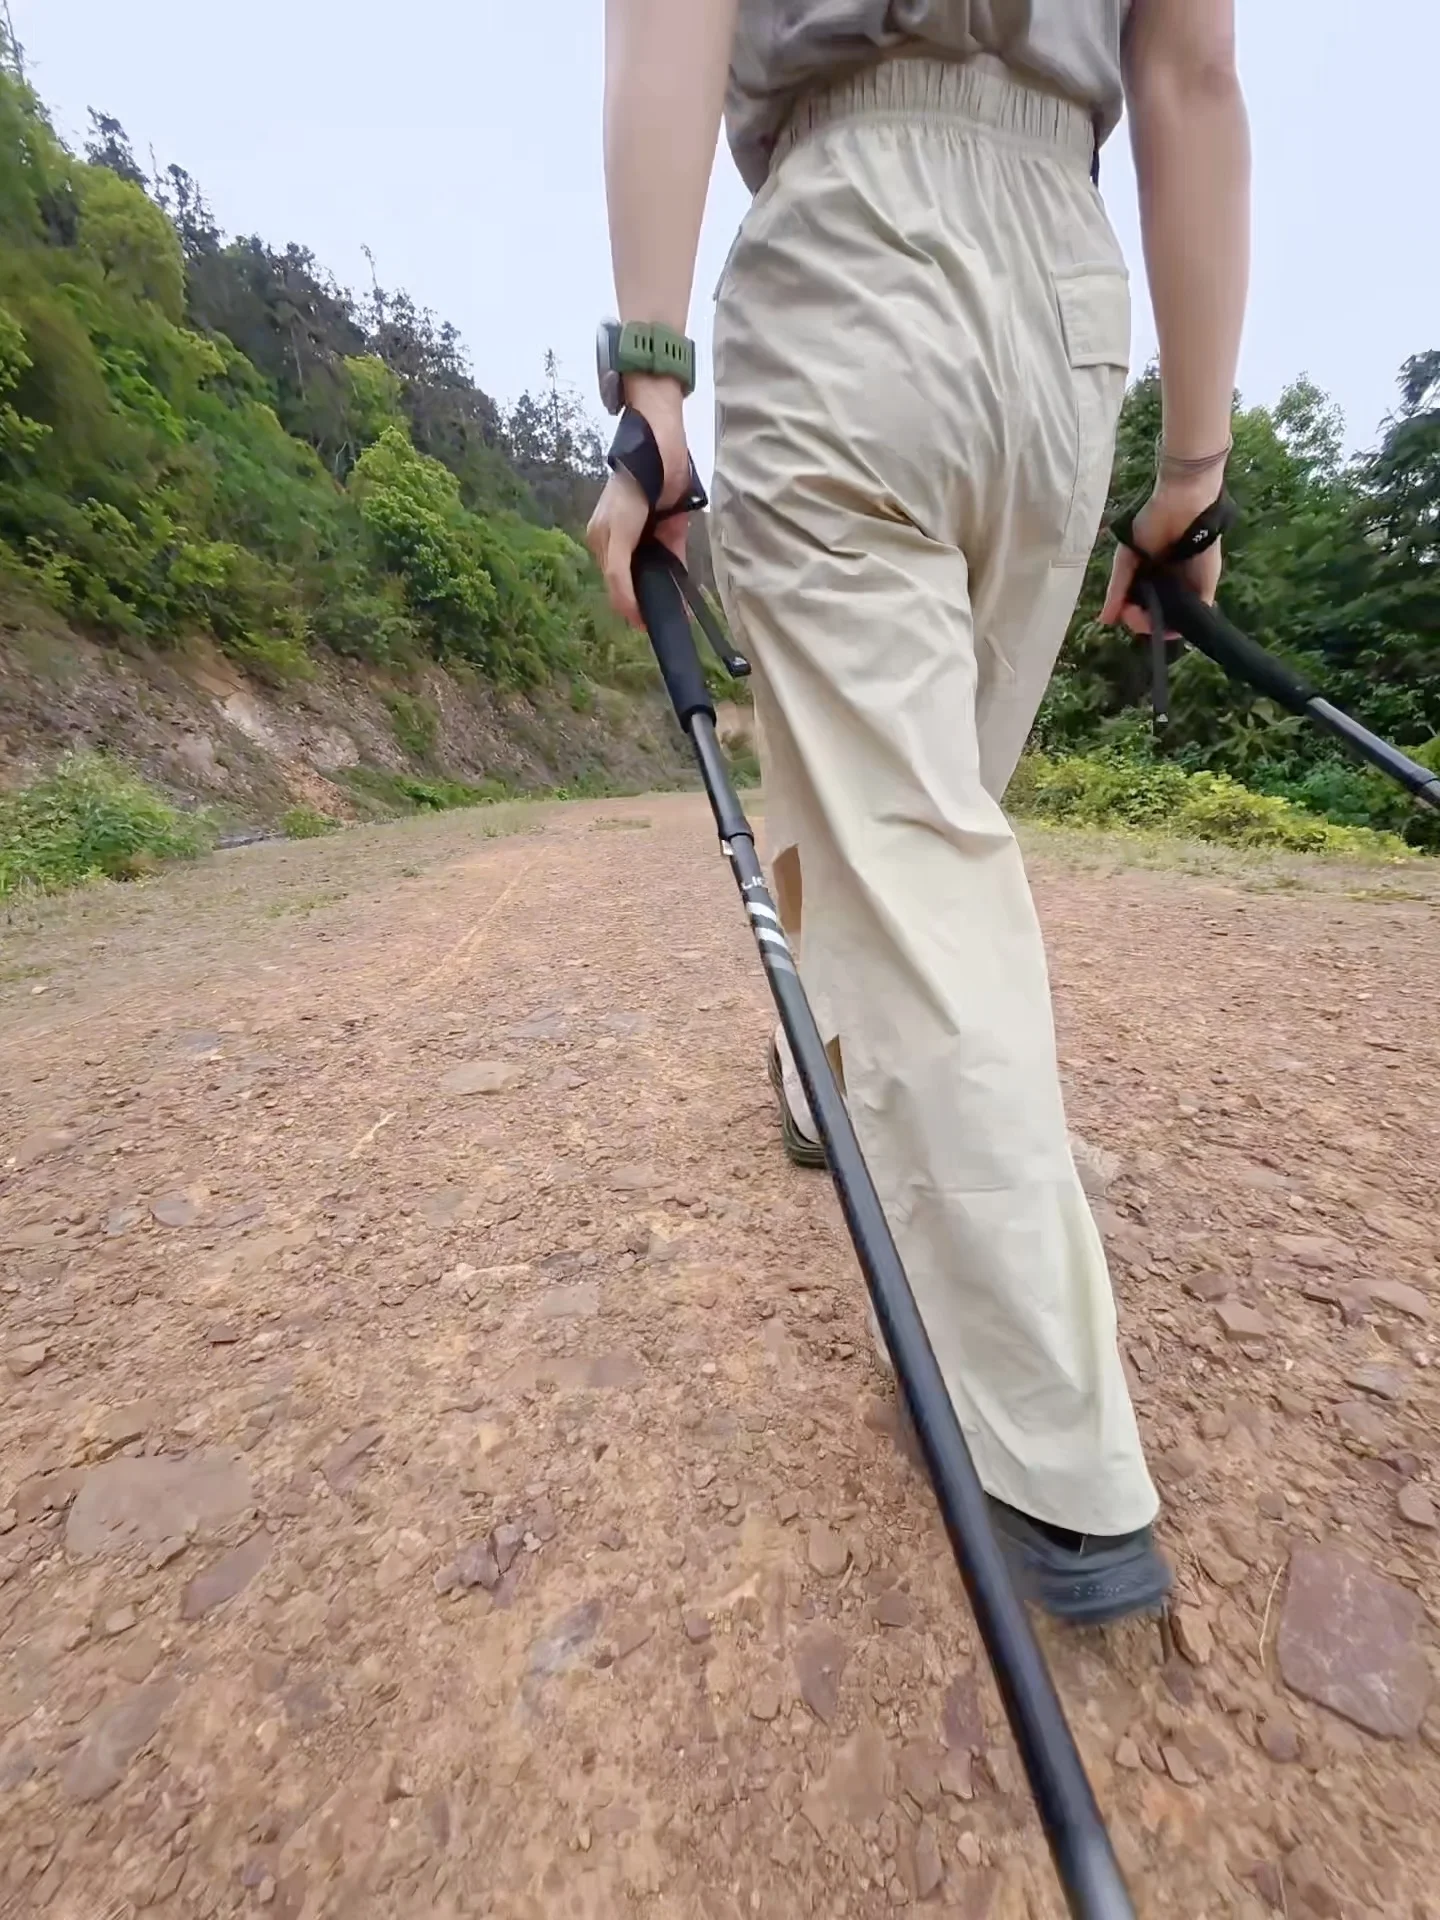
Match each plant to the surface
On a climb, keep the poles within a comfortable working reach and use them with your steps. Avoid reaching so far that your upper body has to pull toward the handles. On a sustained slope, stop to adjust reach when needed.
For descending, plant ahead where the tip can stay secure, then take a controlled step. Give yourself time to see the next landing. A pole placed on a moving stone or wedged into a gap needs repositioning before you rely on it.
On irregular ground, slow the rhythm enough to choose each tip position. A comfortable flat-path pattern does not need to continue unchanged over every surface. Stop and stow the poles if you need your hands for a rail or secure handhold.
Keep pole movements clear of the people around you. Pause before folding, extending, or turning with the poles. At a busy viewpoint, contain the tips instead of swinging them while looking elsewhere.
Decide when to use one pole or two
Two poles offer a repeated movement with both arms and contact points on both sides. One pole can be convenient on straightforward walking terrain when you prefer managing a single item. Try both arrangements on easy ground before choosing for a longer route.
The hiker who described learning a gentler rhythm usually chose poles for climbing and often stowed them on ordinary flat or downhill sections. That is one person’s routine to compare with your own. Choose based on the surface, your comfort, and how you will carry the unused equipment.
On a level trail, begin with light plants and a natural arm swing. If you decide to stow the poles, stop somewhere with room to secure them. Keep the unused pole from dangling by its wrist strap while you walk with the other.
Match tips and baskets to the pole and the ground
Small trail baskets and larger snow baskets serve different surfaces. A basket limits how deeply the lower pole sinks into soft ground. Place each tip on ground where it can stay secure before applying pressure. Check the exact accessory connection and the maker’s intended use.
Rubber feet can be useful for protecting surfaces where required and containing metal points during transport. Inspect the fit and check that a cover has not worn through. Keep accessories matched to the pole rather than assuming similar-looking parts interchange.
Before a walk, inspect the tips, basket seating, shafts, and grips. Afterward, clean and dry the equipment as directed for its construction. A change in how a lock feels or a newly loose grip is worth resolving before the next outing.
FAQ
How do you hold a trekking pole?
For a conventional loop strap, bring your hand up through the bottom and down around the grip, with the strap lying comfortably through your palm. Adjust it before walking. Keep your fingers relaxed enough that you are not constantly squeezing.
How do you use trekking poles on flat ground?
Start with a natural arm swing and alternate the pole opposite the forward foot. Use light plants on a broad, easy path until the rhythm is comfortable. Keep the tips close enough to place without reaching or looking away from the trail.
What are hiking-pole baskets for?
They help limit sinking into soft surfaces such as mud or snow. Choose a compatible basket intended for the conditions and check that it stays attached. Keep the rest of the setup appropriate to the activity as well.