Set your trekking-pole length on level ground so your elbow is roughly at a right angle while you hold the grip with the tip planted beside you. Use a height chart as a starting point, then check the fit in your hiking shoes. Adjust for the terrain within the pole’s marked limits and confirm the locks hold before walking.
Find your level-ground setting first
Stand comfortably with your upper arm near your side. Place the tip beside you and adjust the pole until your forearm is roughly parallel to the ground. Keep your shoulder relaxed rather than lifting it to reach the handle.
Cascade Mountain Tech’s setup instructions use this elbow-angle check and explain how to test the locks under downward pressure. Apply that test on level ground before relying on the poles on a slope. If a section slides, stop and resolve the adjustment.
Try a few ordinary steps, then stop and check again. Notice whether you reach upward for the grip or bend farther than is comfortable to plant the tip. Change the setting a little at a time so you can recognize what improves the fit.
Use height numbers as a starting reference
The following adult reference rows come from Montem’s pole-height chart, with the pole lengths converted to inches. The centimeter setting is included because many shafts use those marks. Check the elbow position before treating any row as your final setting.
Your height
Starting pole length, inches
Common shaft marking
5 ft 0 in
41.3
105 cm
5 ft 2 in
43.3
110 cm
5 ft 4 in
45.3
115 cm
5 ft 6 in
45.3
115 cm
5 ft 8 in
47.2
120 cm
5 ft 10 in
49.2
125 cm
6 ft 0 in
49.2
125 cm
6 ft 2 in
51.2
130 cm
6 ft 4 in
53.1
135 cm
People of the same height can prefer different settings. Grip position, shoes, and the kind of walking you do all belong in the fitting. Keep the chart available for a first adjustment, then let the actual standing and walking check refine it.
Fit each person separately. A hiker about 5 ft 3 in tall usually chose 43.3-inch poles, then bought a 45.3-inch fixed-length version to share with a companion. If two people share equipment, check the deployed fit for both rather than assuming one shared length will suit them equally.
An adjustable design can be useful when shared equipment needs different settings. A fixed folding design needs a suitable size for the person using it. Compare deployed length and packed length as separate specifications.
Change reach when the terrain changes
For a sustained climb, a slightly shorter setting can make the uphill reach more comfortable. For a descent, a longer setting can help you reach the ground ahead without stretching down. Make changes while stopped somewhere secure.
LEKI’s terrain-adjustment guidance gives approximately 2–4 inches as an adjustment to try for sustained climbs or descents. Start with a small change and check the reach. Stay within every section’s extension marks.
On a side slope, the ground is closer to one hand than the other. Adjust each pole for its side if needed, then return to the ordinary setting when the slope ends. Keep checking your shoulders and grip rather than preserving identical numbers at the expense of fit.
Understand the marks on your particular pole
A telescoping pole may have scales on more than one section. Those marks can indicate the complete length when corresponding sections are set as directed. Read the model’s setup information before adding the numbers together or extending one section much farther than the other.
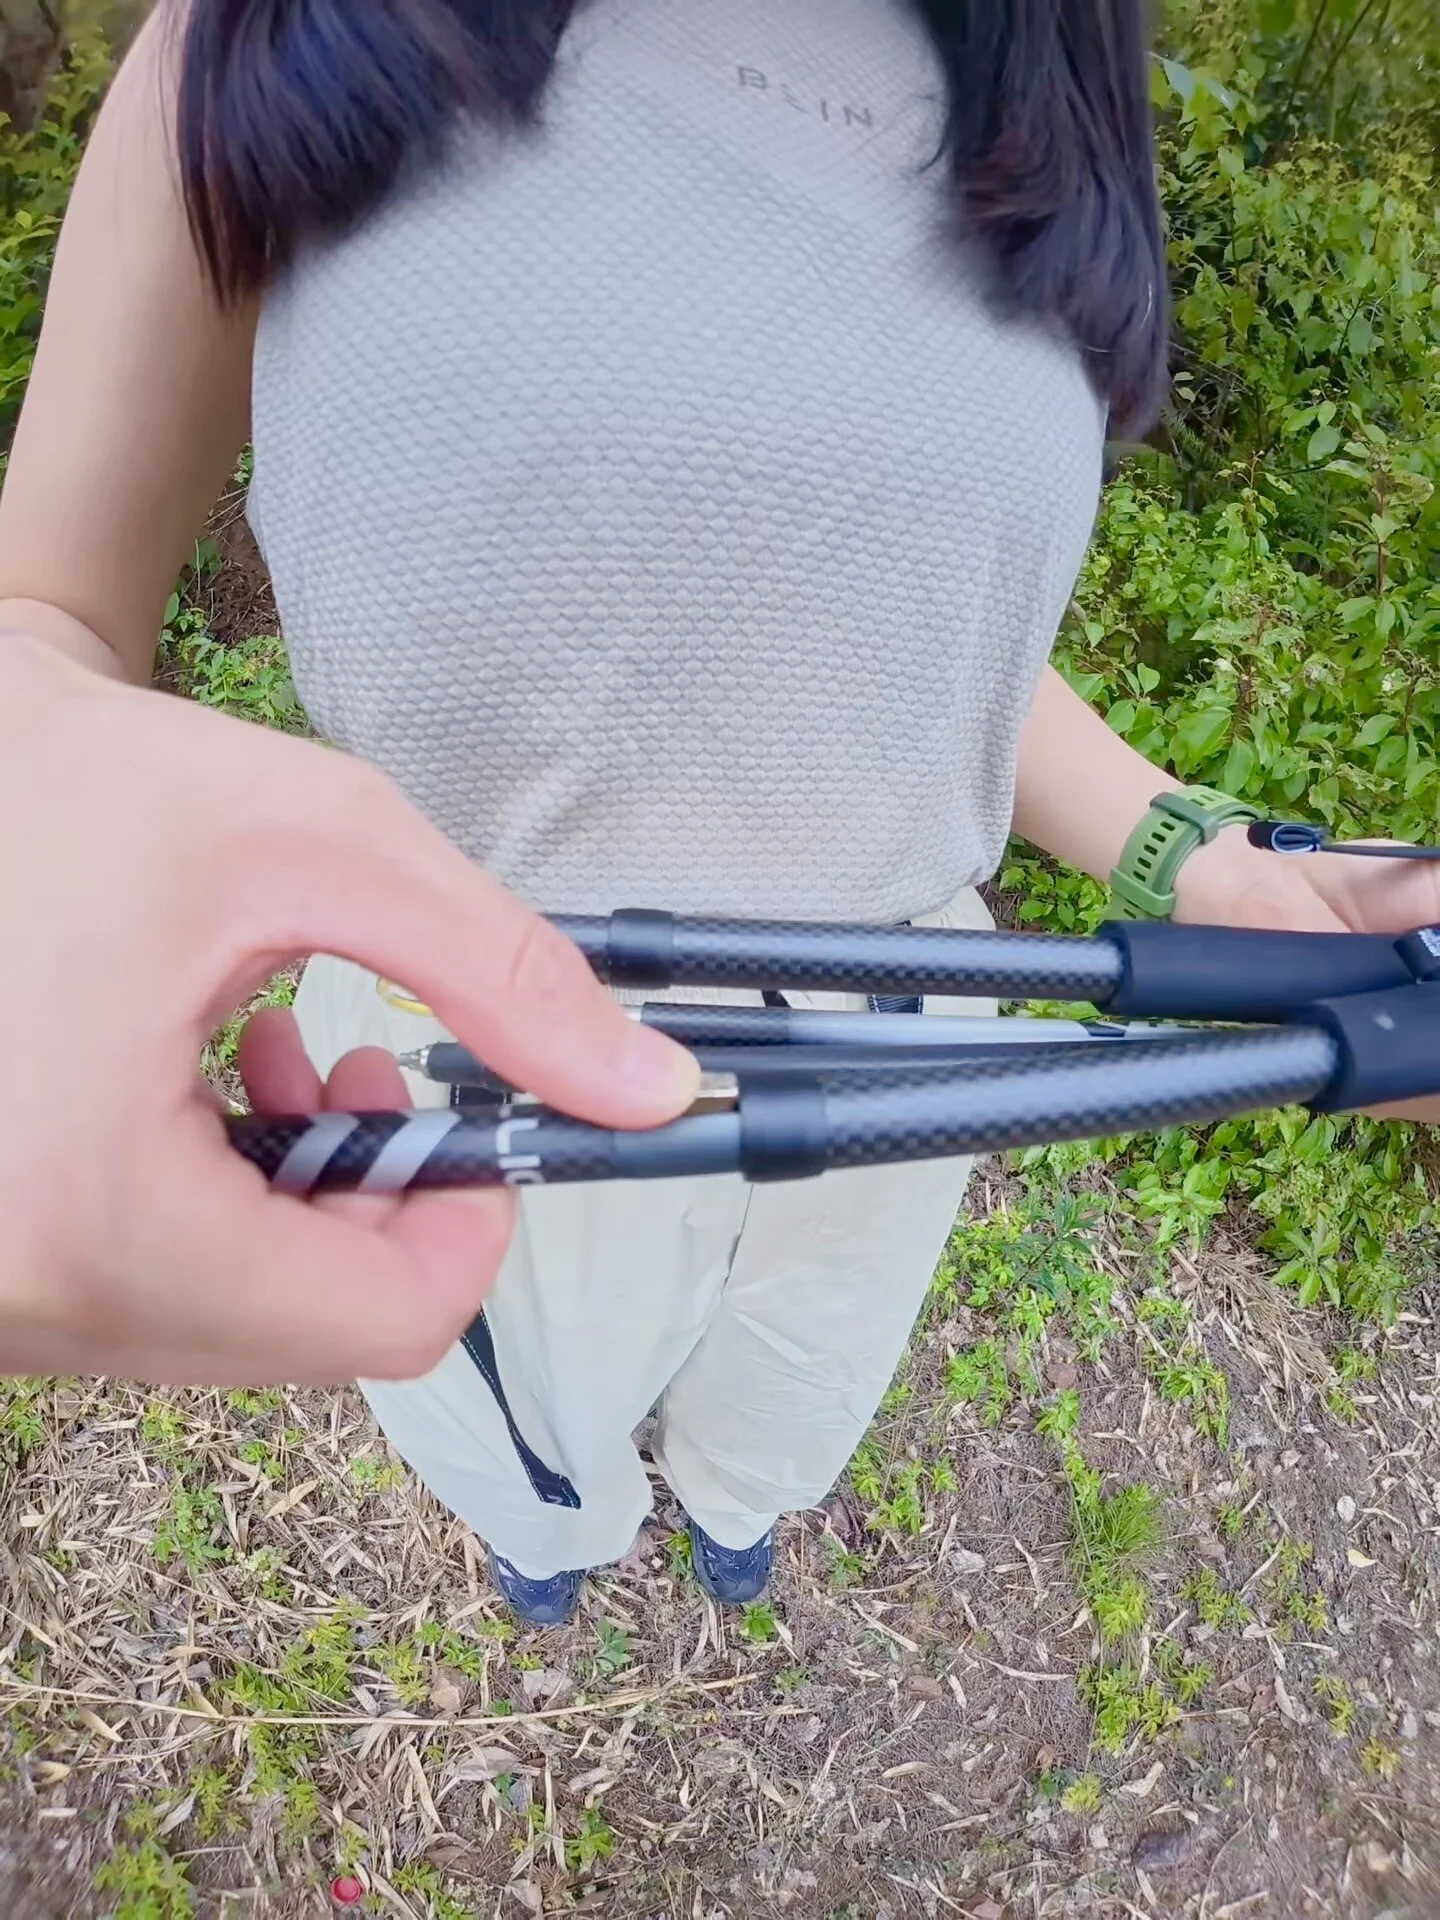
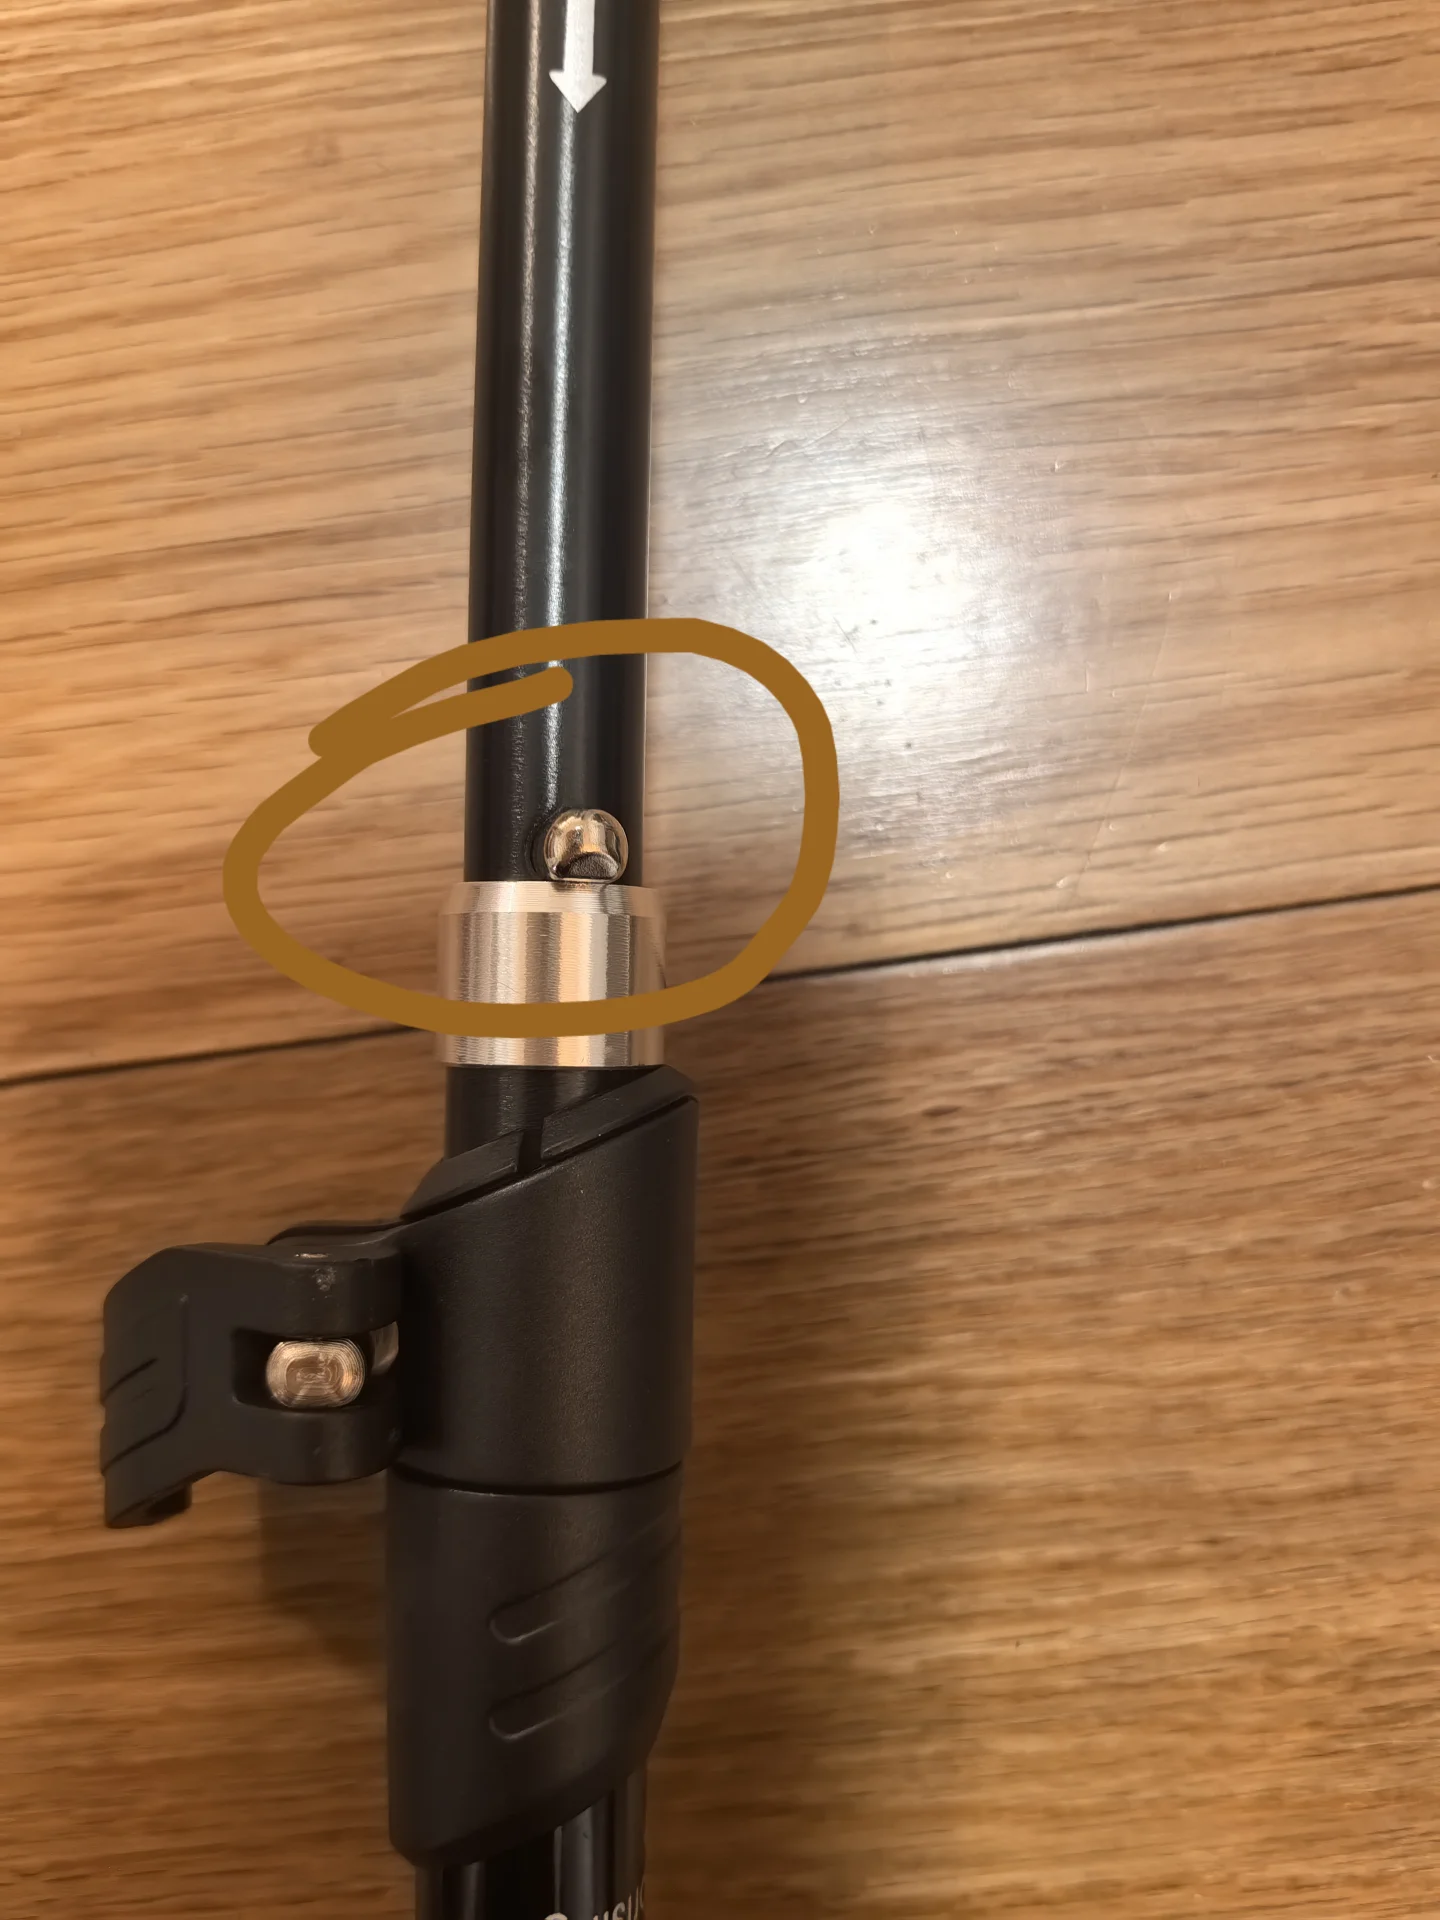
For a fixed-length folding pole, pulling the locking section into position completes assembly; it is not an optional extra length. Check that the intended locking button or mechanism engages fully. If the resulting length is unsuitable, address the size rather than leaving the pole partly assembled.
Separate assembly from sizing. One owner found a folding pole would only stay fixed after pulling out its locking section, but the fully deployed pole then felt too long. Confirm that a folding pole fits you in its locked, ready-to-use state before taking it on a hike.
Try the full deploy-and-fold sequence at home. Note the ordinary hand movement and what the secured mechanism looks like. If it needs unexpected force or will not remain locked, ask the maker for help with that exact model.
Check locking and comfort together
After an adjustment, close or engage every lock and apply controlled pressure with the tip on stable ground. Watch whether a shaft moves. Resolve slipping before changing anything else about your walking technique.
For an external lever, a closed position alone does not confirm the correct tension. Use the model’s adjustment procedure, then repeat the holding check. For a twist mechanism, confirm the intended locking direction rather than continuing to turn without knowing which part is moving.
Take a short walk with your usual bag. If your arms are working harder than expected, stop and review length, grip, and how far ahead you plant. Change one thing, then walk the same easy stretch again.
Keep a note you can reuse
Record your comfortable level-ground marks for each pole. If the scales differ between designs, keep the model name beside the note. Use those marks to reset the equipment after packing, then verify fit in the shoes you are wearing.
Include a short incline and descent on a practice walk so you can learn the adjustment routine before a longer outing. Stop with room for other people to pass. Return to your level setting afterward and check the locks again.
FAQ
What trekking-pole length should you use?
Begin with the tip beside you on level ground and your elbow at about a right angle. Use a height chart to get close, then check the grip and shoulder position in your hiking shoes. A setting you can walk with comfortably is the goal.
How do you adjust hiking poles for hills?
Try a shorter reach for a sustained climb and a longer reach for a descent, within the pole’s marked range. Stop before adjusting and test every lock afterward. Reset the poles when the terrain changes again.
Why does a folding pole feel too long after locking?
Its assembly length may be different from the size you expected. Fit it fully deployed and locked; leaving it partly assembled is not a sizing method. Check the model’s size and usable range with the manufacturer.